After successful purchase, you’ll receive an email containing your unique license key plus plugin.
Download the plugin and activate it on your wordpress website.
After installing and activating the plugin, navigate to your WordPress dashboard.
Go to “Woo AI Addon License”.
Paste your copied License Key and press the “Activate Plugin” button. (Check your email for a license key).
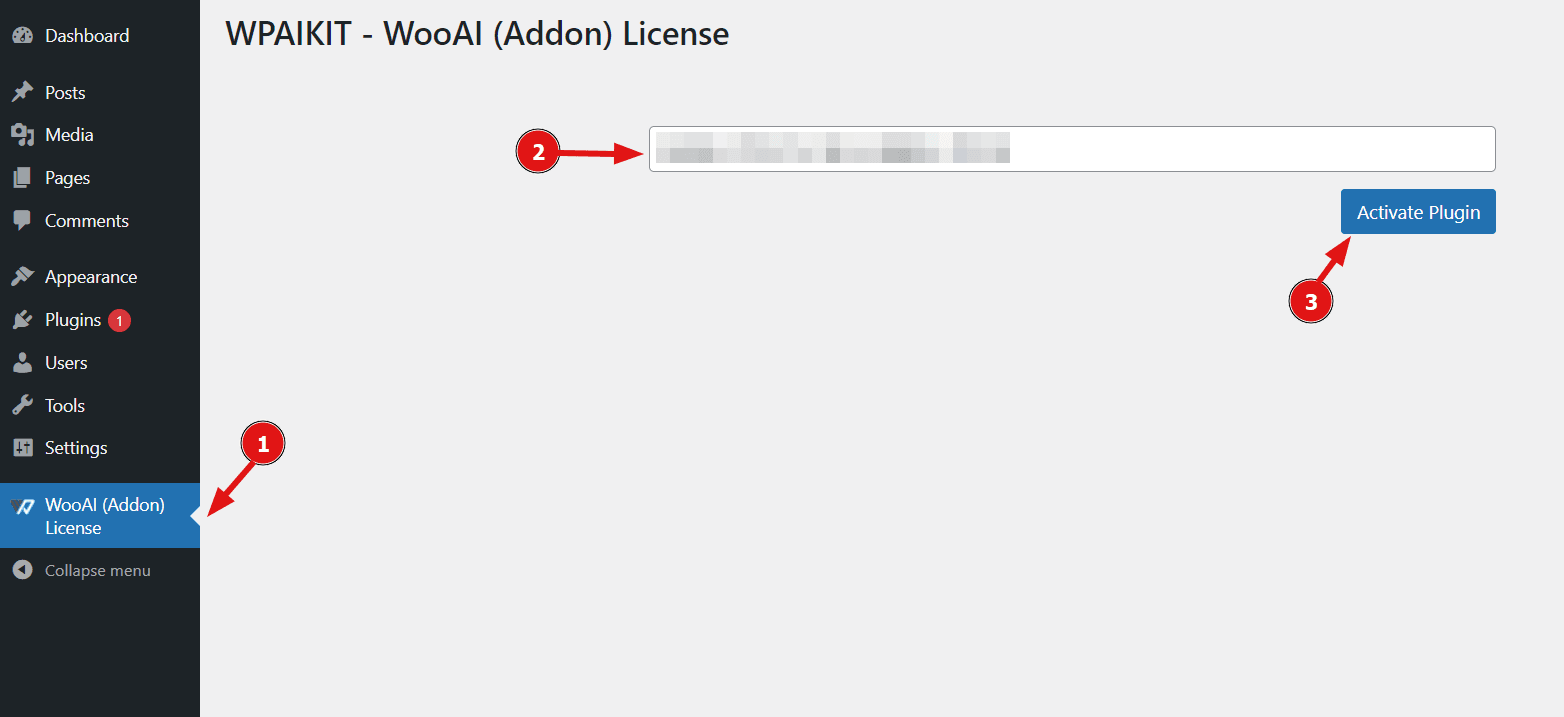
On this Settings page, you will find various setting tabs, including API Settings, Products, and SEO.
In the API Settings tab, you must provide an API key that matches the model selected in the Models field for the plugin to function correctly. If you’re unsure how to obtain an API key, simply click on the ‘Get API Key Instructions’ link located next to the ‘API Key’ field.
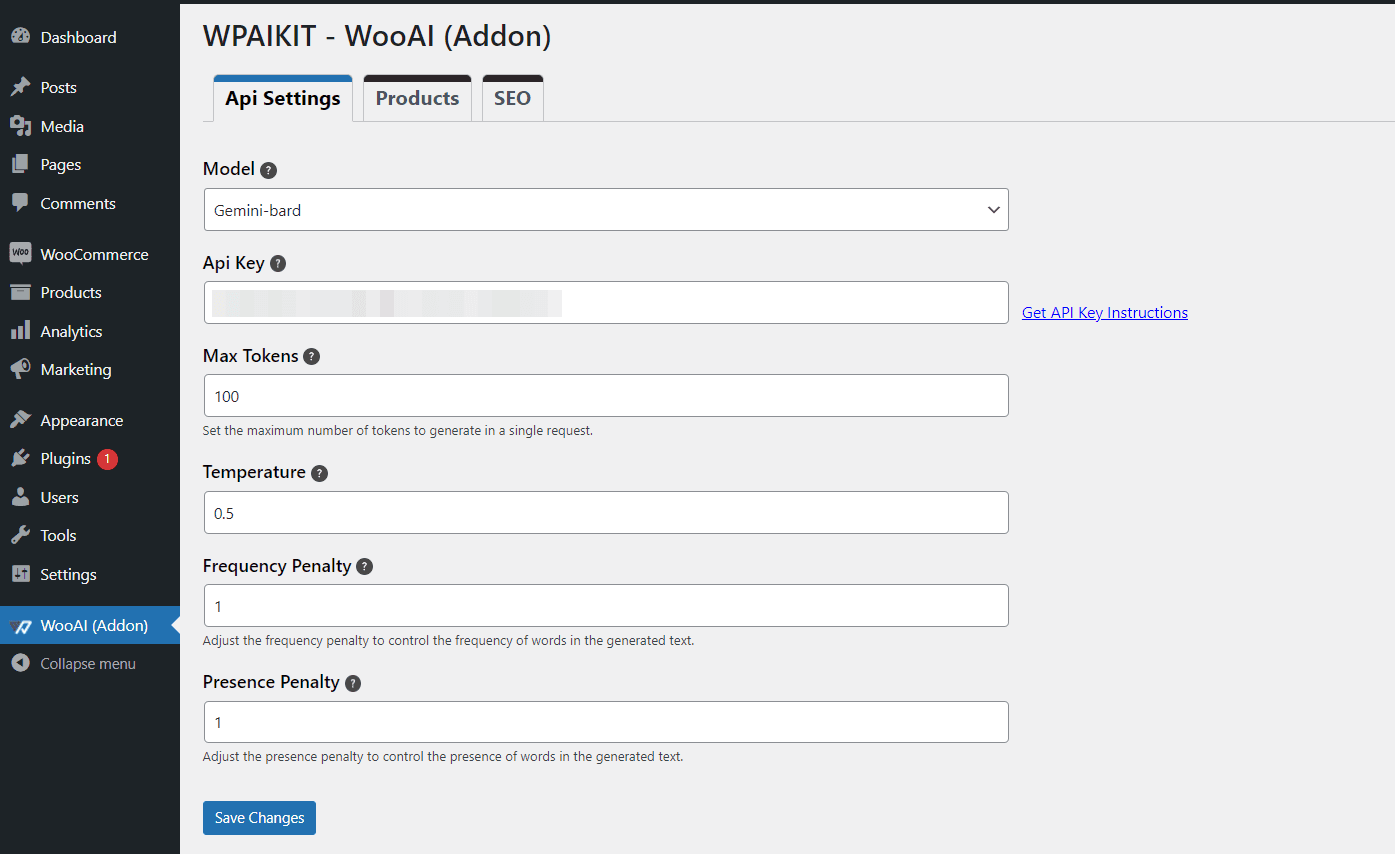
In the Product Settings, you’ll find various options that allow you to enable specific functionalities on the product page, letting you customize how the plugin interacts with your products.”

In the SEO Settings, you’ll find an option that displays seo metabox and bulk options on the product page. Additionally, there’s a dropdown menu where you can select the SEO plugin you wish to integrate with your site.

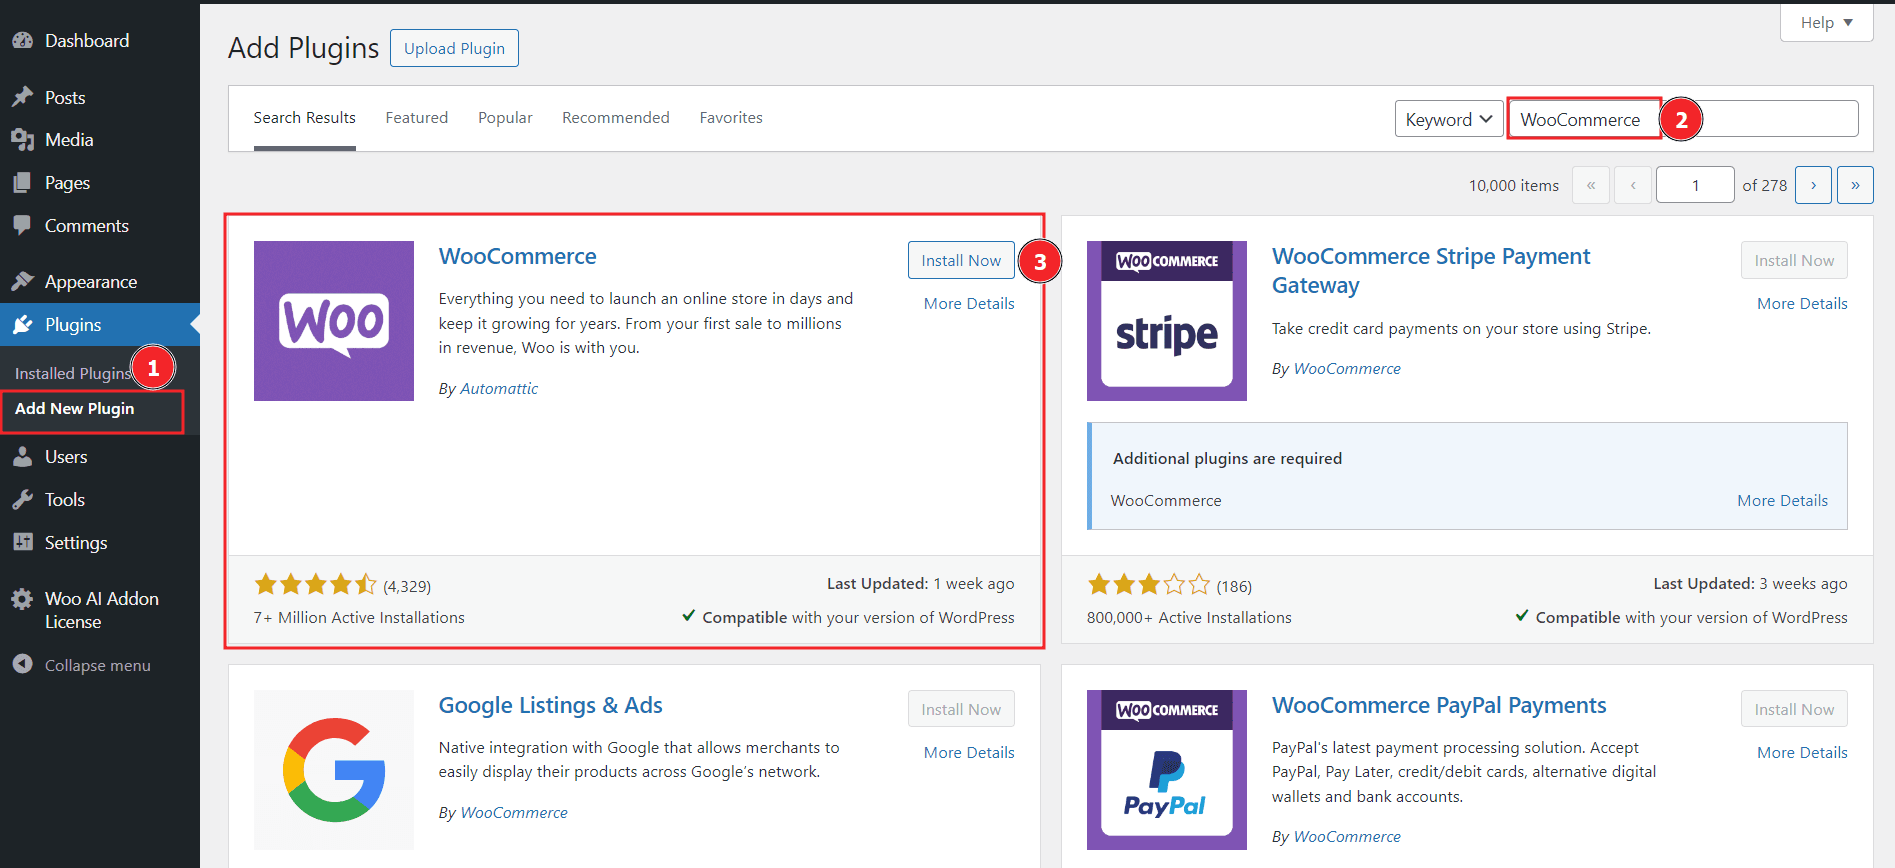
To use Woo AI Add-on plugin, you need to install the WooCommerce plugin.This add-on integrates seamlessly with WooCommerce, enhancing your store’s capabilities with advanced AI-powered features.
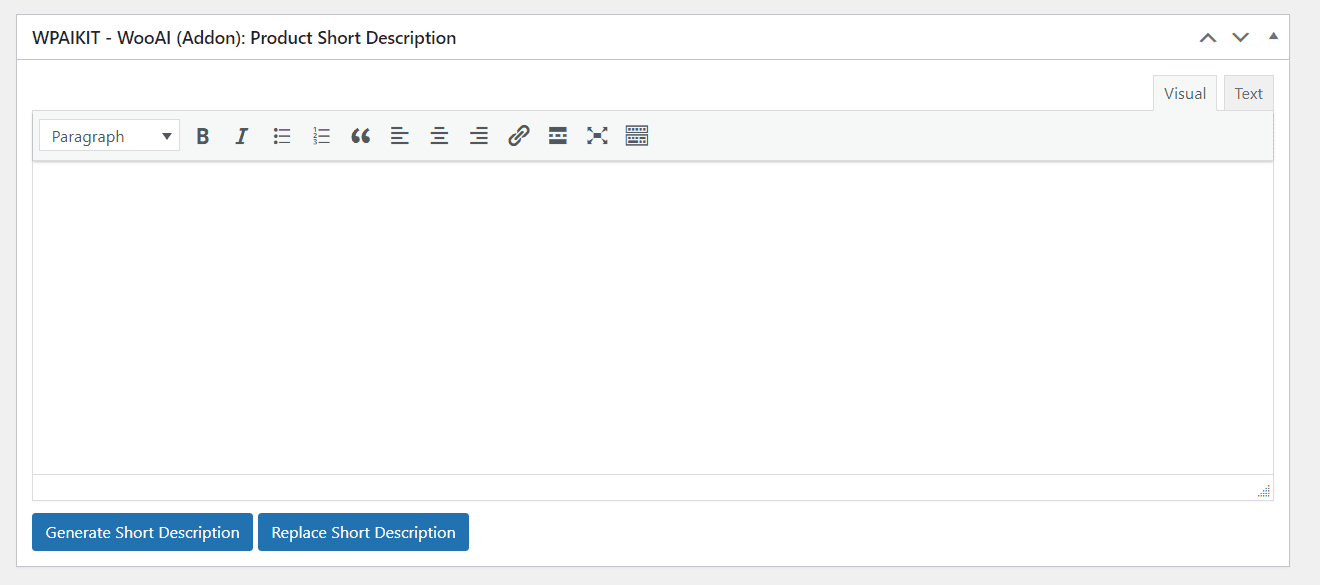
By enabling the options in the plugin’s product settings, you’ll activate various meta fields on your product pages, as shown in the image below:
Here is an example of generating the product title:
- First enable the Generate Product Title in the product settings.
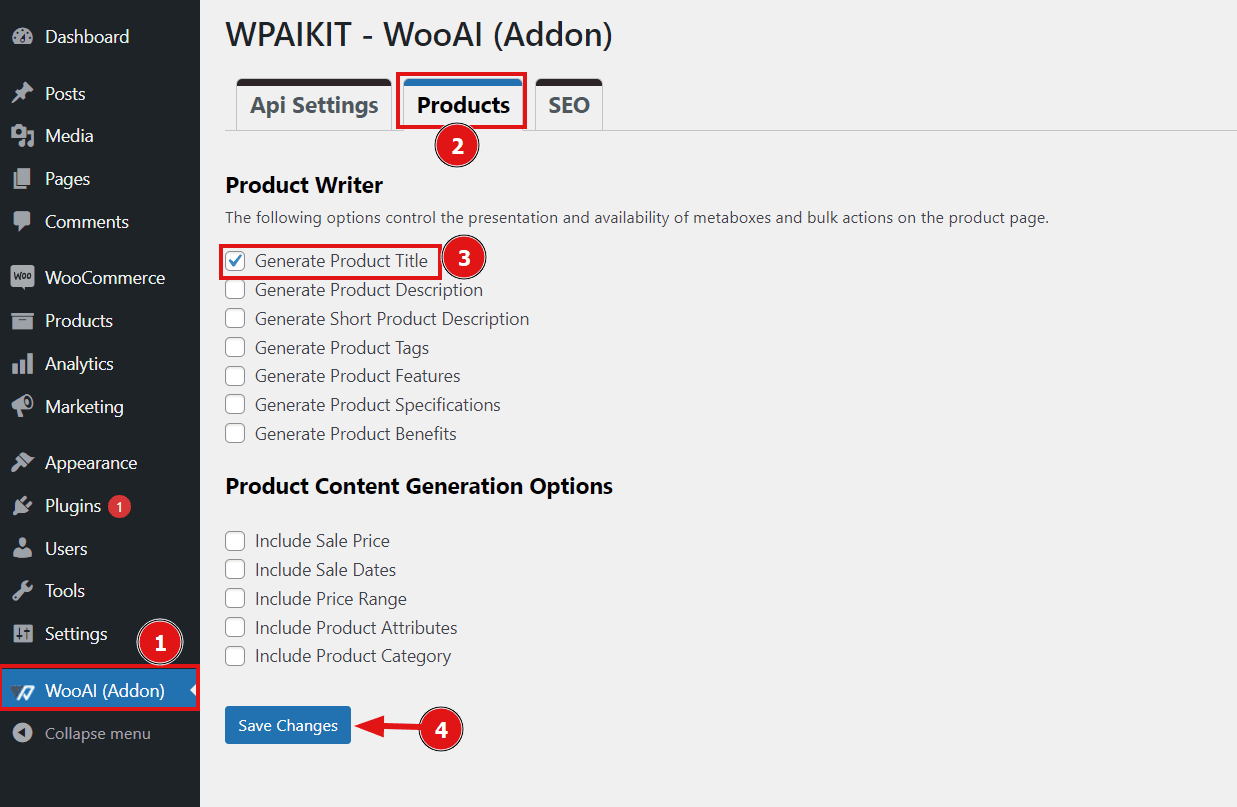
- After enabling navigate to Products.
- To create a new product, click ‘Add New’ Alternatively, you can select ‘Edit’ on an existing product. Make sure to include a product title, as it is essential for the AI features to function effectively.
- Once the product title is in place, you can generate an improvised title by clicking the ‘Generate Title’ button.

- If you click on the Replace Title button it replaces the existing title with the generated title in the product name field.

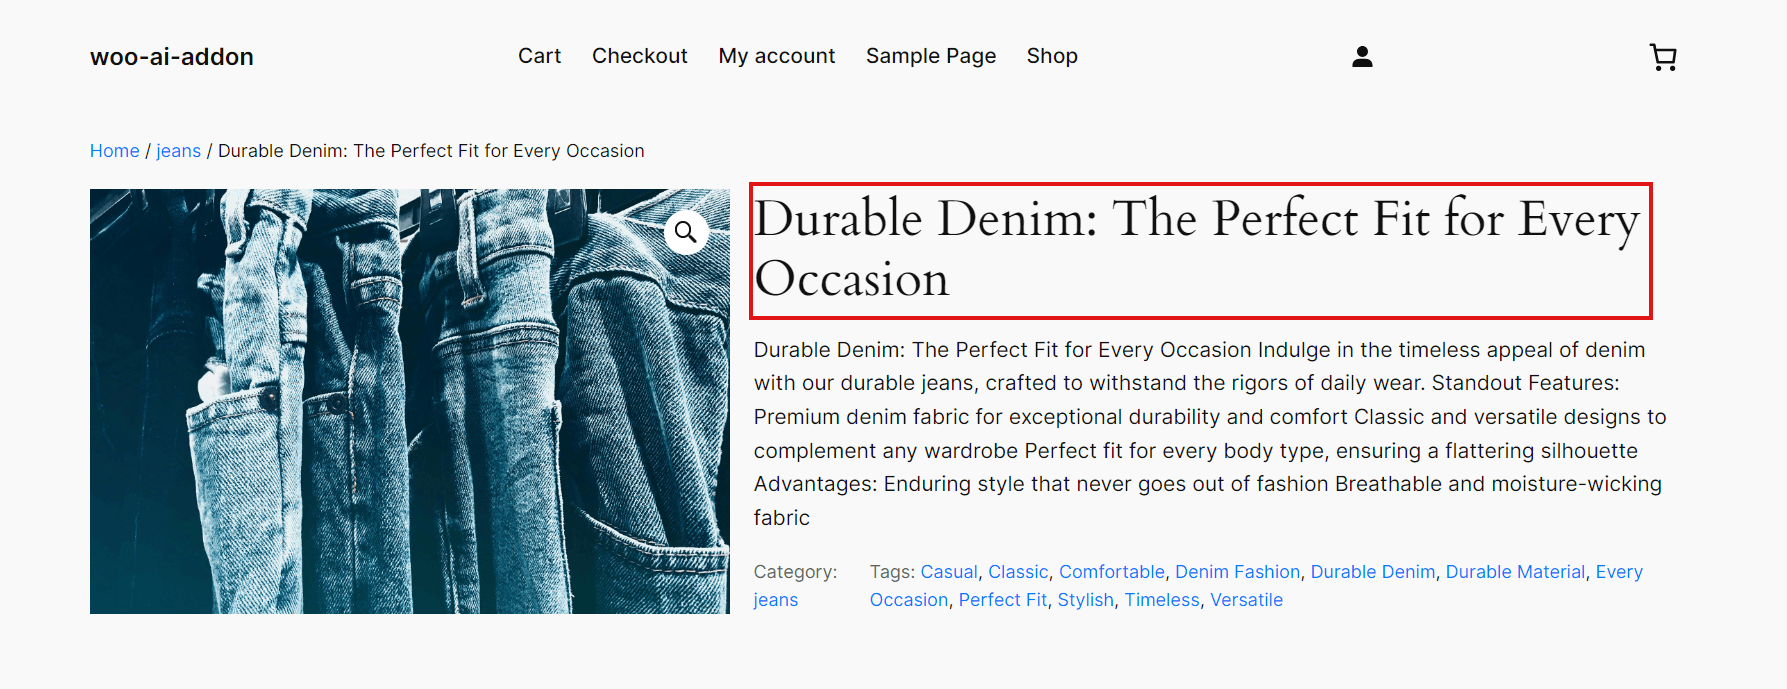
The generated title will appear on the product page of the site.
Generation in bulk:
You can save valuable time by using the bulk action feature of the plugin, which allows you to generate text for multiple products simultaneously.
Generate Product Title:
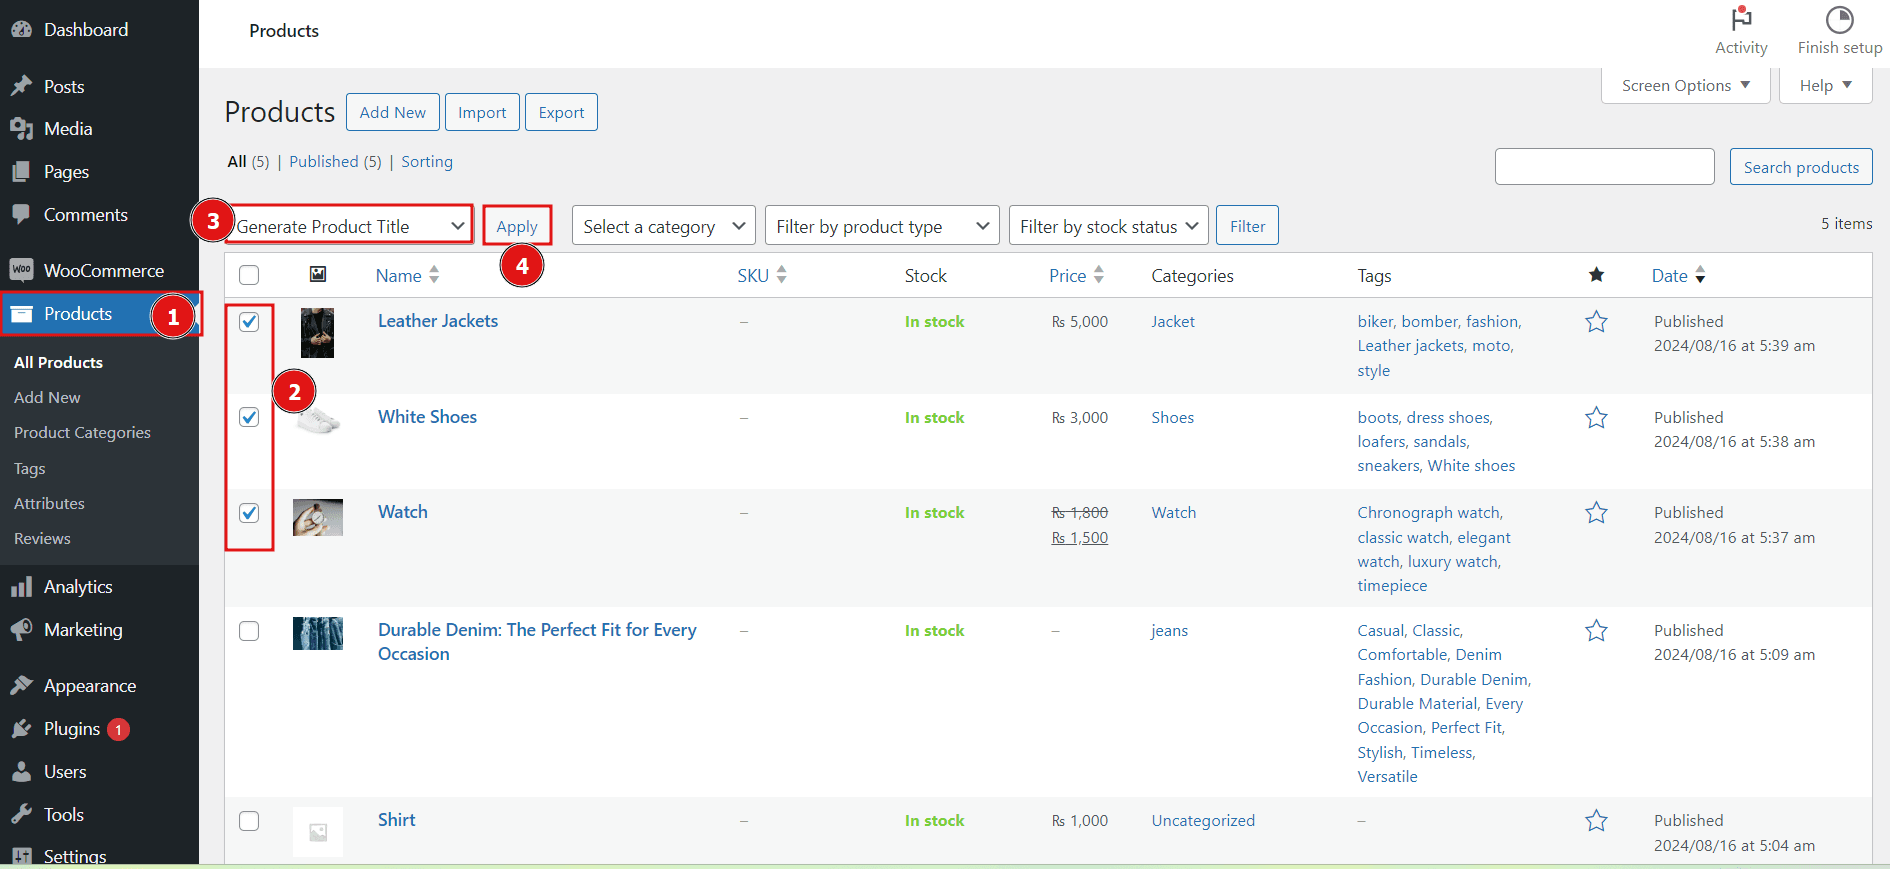
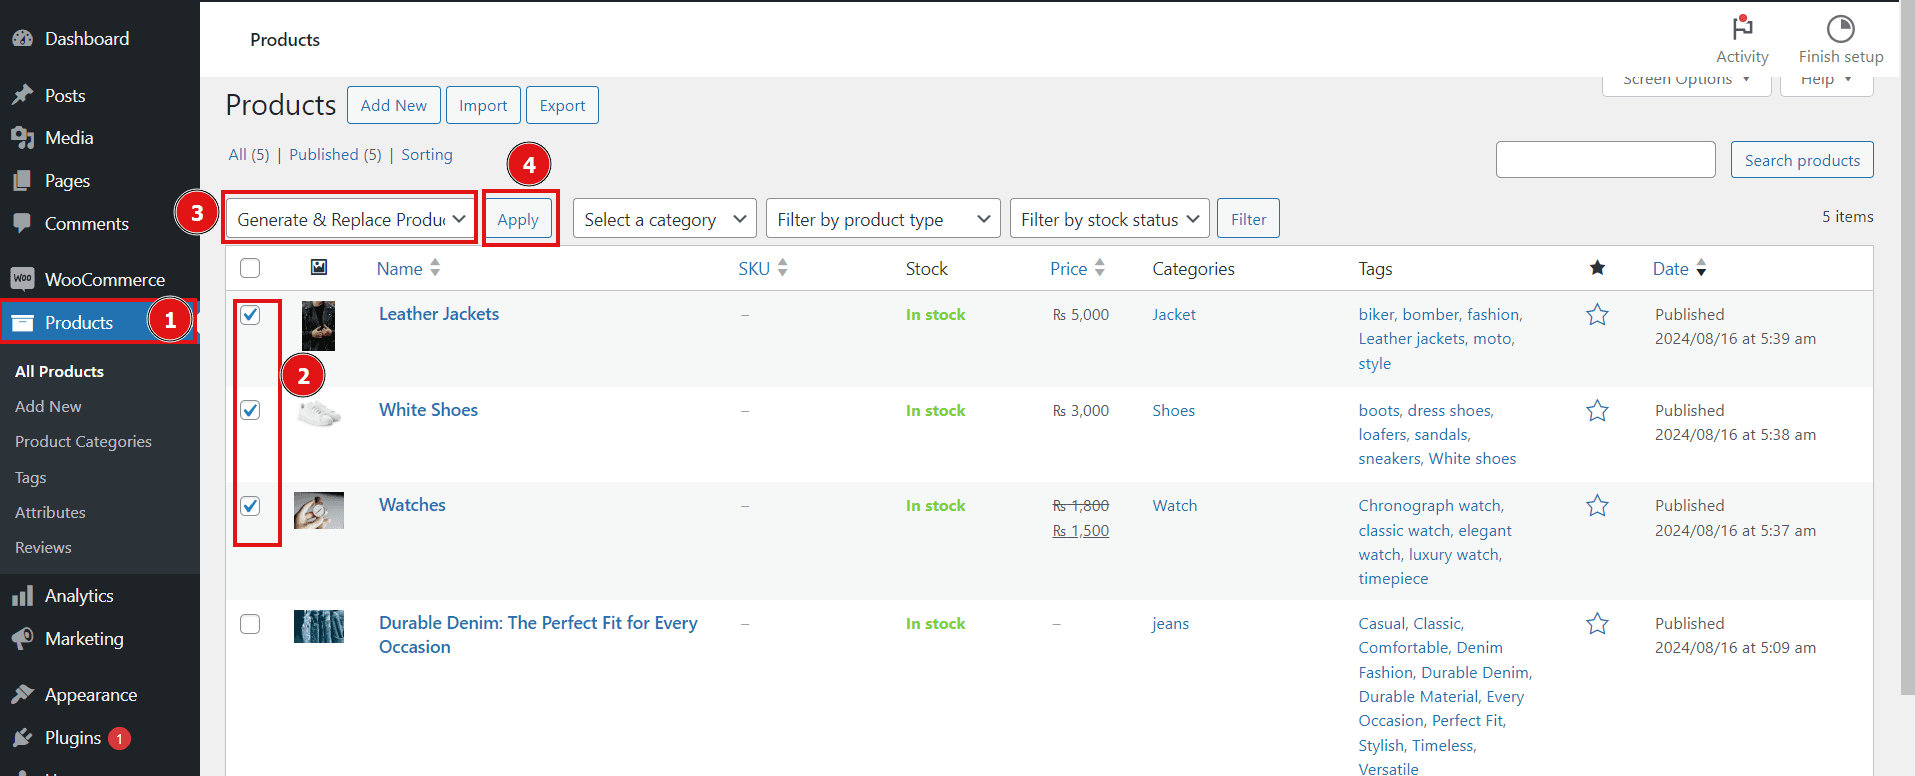
Steps for generating the title in bulk:
- Navigate to Products > Bulk Action.
- Select the products you want to update.
- Choose the Generate Product Title option.
- Click the Apply button.
- This will generate titles for all the selected products in one go.
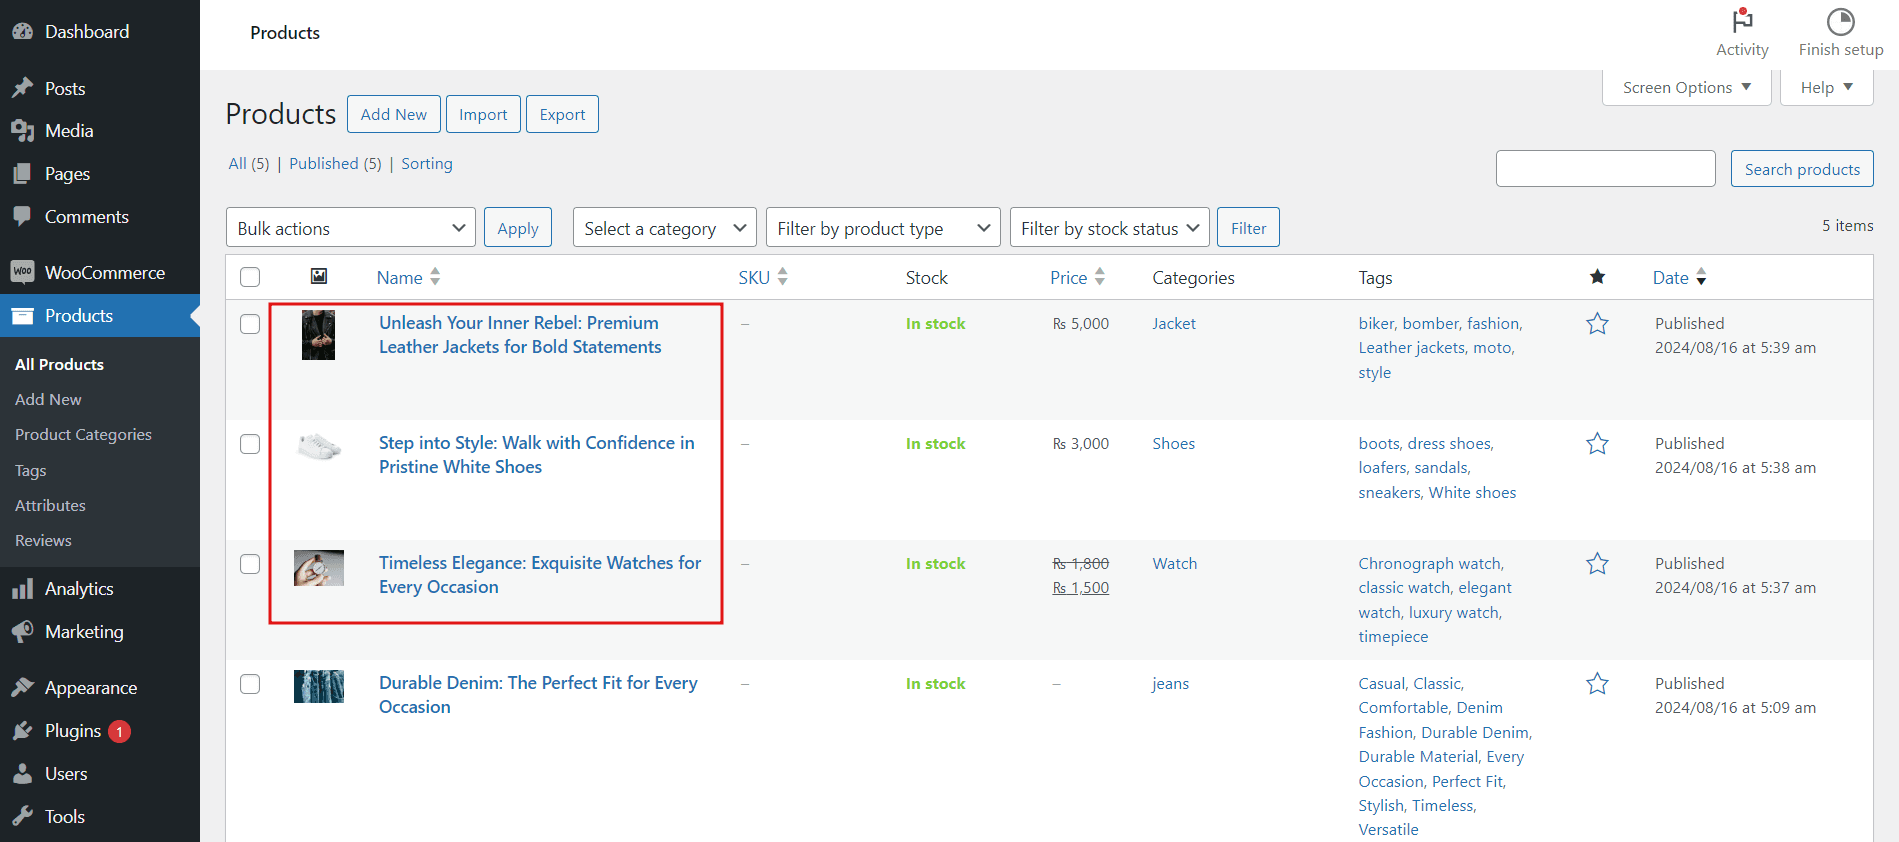
One of the above selected product result is showing in below image:

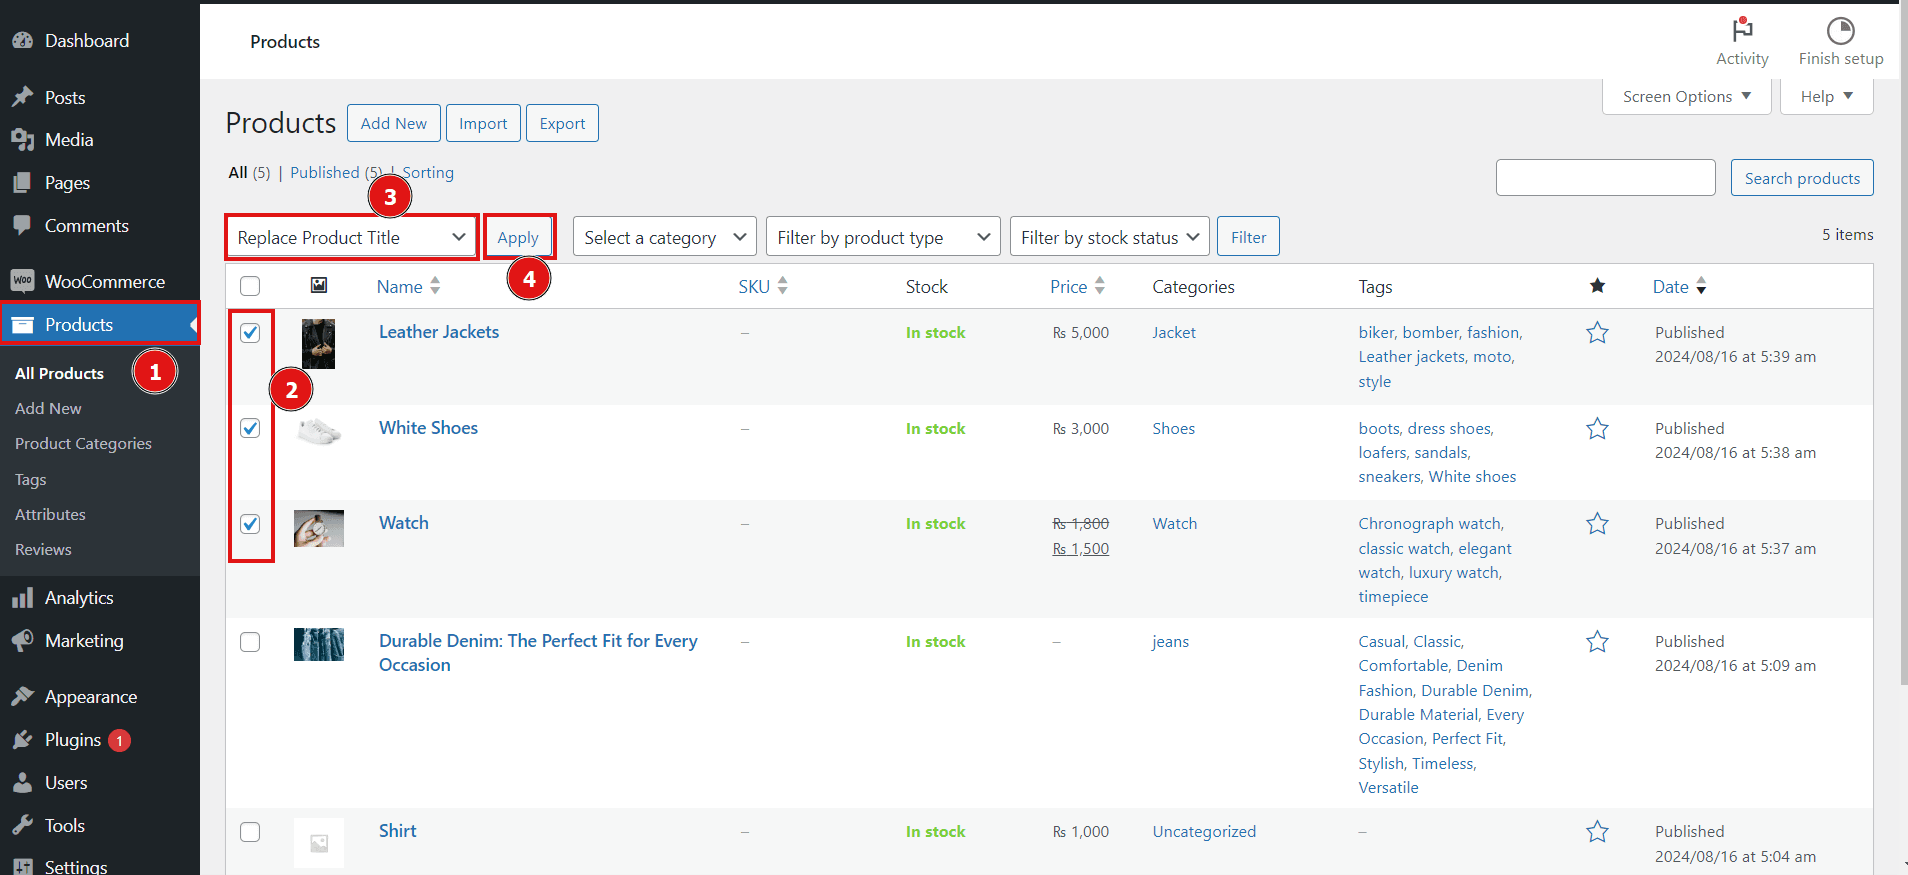
Replace Product Title:
The Replace Product Title option allows you to replace existing titles with the ones generated by the AI, as long as these titles are already stored in the Woo AI Addon metafield.
Generate and Replace Title:
This feature combines the processes of generating and replacing product titles in a single step. It’s the most efficient option if you want to update your product titles instantly.
Result:
SEO Generation:
To optimize your product pages for search engines using the WooAI (Addon) plugin, follow these steps:
- For SEO generation, first enable the functionality in the SEO settings.
- Additionally, select the SEO plugin you are using from the dropdown menu in the SEO settings.
- To generate and replace the SEO meta title for a product, press the Generate & Replace SEO Title button.

By utilizing the SEO generation feature of the Woo AI Add-on plugin, you can streamline the process of creating SEO-friendly product titles, enhancing visibility and search engine ranking for your WooCommerce store.

